Building Docker images with Kaniko !!!
Posted on August 20, 2023 • 4 minutes • 659 words
Kaniko !!!
Building Docker images with Kaniko
kaniko is a tool to build container images from a Dockerfile, inside a container or Kubernetes cluster. kaniko solves two problems with using the Docker-in-Docker build method:
- Docker-in-Docker requires privileged mode in order to function, which is a significant security concern.
- Docker-in-Docker generally incurs a performance penalty and can be quite slow.
When building an image with kaniko and CI/CD, you should be aware of a few important details:
- The kaniko debug image is recommended (
gcr.io/kaniko-project/executor:debug) because it has a shell, and a shell is required for an image to be used with GitLab CI/CD. - The entrypoint will need to be overridden , otherwise the build script will not run.
- A Docker
config.jsonfile needs to be created with the authentication information for the desired container registry.
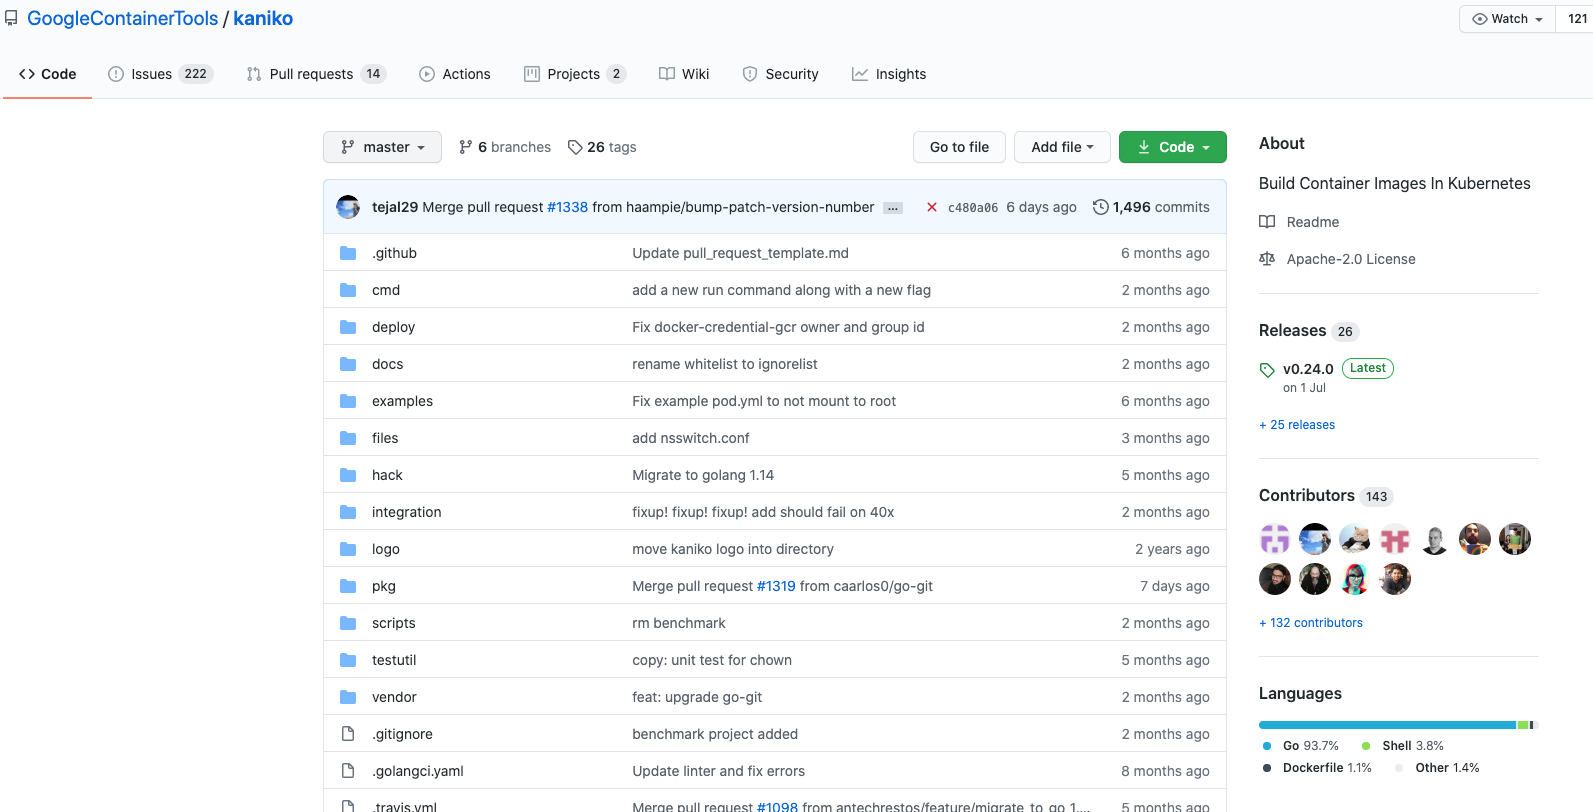
簡化來說 , 使用 docker build 時 最要不得的就是要, mount /var/run/docker.sock 這個 sock 到 build container 內,這使得 build container 需要 privileged mode , 為了解決這個問題 , google 在 2018 年六月開啟了 kaniko 專案 來解決這個問題 , 目前 release 到 v.0.24.0 版

如何使用
env:
- Docker version 1.13.1, build 7f2769b/1.13.1
- centos 7
可以使用 docker run 調用:
docker run -it gcr.io/kaniko-project/executor:latest --help
它在默認的 container 內 /workspace 目錄下尋找 Dockerfile,並且通過-d flag 來設定將要推送的registry name and image name , image:tag。
創建資料夾
mkdir ~/kaniko-example
cd kaniko-example
vi Dockerfile
mkdir nginx
vi nginx/default.conf
sample Dockerfile
FROM nginx:alpine
LABEL github-action="GCR"
LABEL NAME="nginx-gcr"
LABEL Version="0.0.1"
COPY nginx/default.conf /etc/nginx/conf.d/default.conf
EXPOSE 8080
sample default.conf
server {
    listen        8080;
    server_name   localhost;
    location / {
        root      /usr/share/nginx/html;
        index     index.html index.htm;
    }

    # redirect server error pages to the static page /50x.html
    error_page    500 502 503 504  /50x.html;
    location = /50x.html {
        root      /usr/share/nginx/html;
    }
}
為了能夠將生成的 image 推送到遠方 Docker Registry ,您需要使 credentials token 據在 kaniko container 中可用。
# docker login 預設 login 到 docker hub

docker login

# 我們可以看一下發現 其實他也就是 username:password | base64 過後的檔案而已
cat ~/.docker/config.conf
#############################use admin:admin base64 過後 ###########################
{
        "auths": {
                "https://index.docker.io/v1/": {
                        "auth": "YWRtaW46YWRtaW4K"
                }
        }
}
使用 docker version (v17.03.0-ce
) 的朋友 , 因為有了credsStore or credential-helper 來保管 credential
建議 自己將 username:password base64 後,替換 掉 YWRtaW46YWRtaW4K
echo username:password | base64
當前資料夾目錄結構
ls -lR ~/kaniko-example
total 32
-rw-r--r--  1 neilguan  staff    155  7 31 17:32 Dockerfile
-rw-r--r--  1 neilguan  staff  11357  7 31 16:15 LICENSE
drwxr-xr-x  3 neilguan  staff     96  7 31 16:23 nginx

./nginx:
total 8
-rw-r--r--  1 neilguan  staff  352  7 31 16:23 default.conf
Let’s do it ~~
現在本地目錄 ~/kaniko-example 中有一個Dockerfile。
您可以使用以下命令構建並推送Docker映像(替換<username/image-name:tag>…):
我們將會把 家目錄的 .docker/config.json 掛入 container 內的 /kaniko/config.json
設置 container 環境變數 DOCKER_CONFIG=/kaniko
指定 -f Dockerfile 路徑 並設定 目的地 ~
cd ~/kaniko-example

docker run -it -v ~/.docker/config.json:/kaniko/config.json \
        -v $PWD:/workspace -e DOCKER_CONFIG=/kaniko \
        gcr.io/kaniko-project/executor:latest \
        -f /workspace/Dockerfile \
        -d <username/image-name:tag>

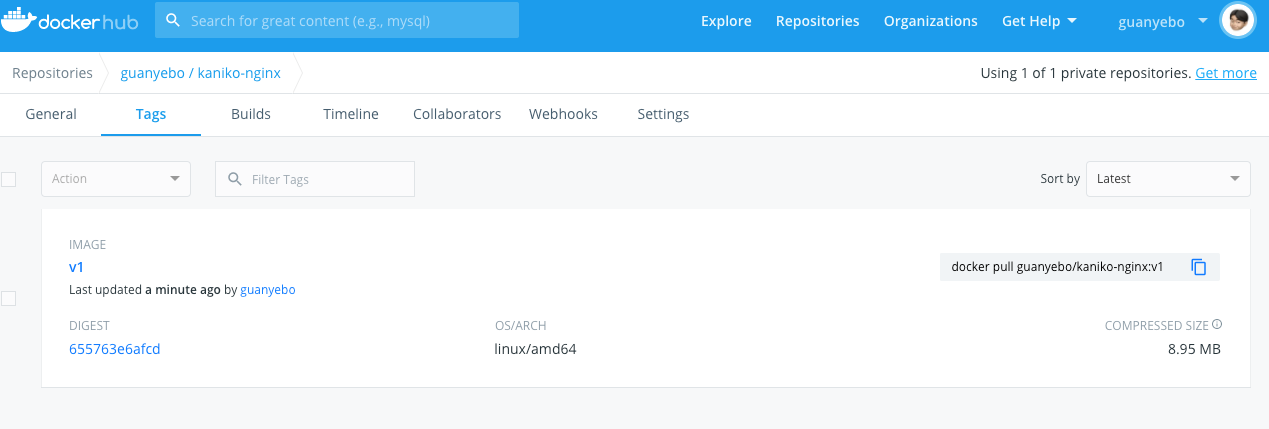
如果順利 !?XD 你可以到你的 docker hub 看到您透過 kaniko build and push 的 image :

更可以將 他整合到 ci/cd pipeline 中 gitlab 已有很好的 example
Building images with kaniko and GitLab CI/CD https://docs.gitlab.com/ee/ci/docker/using_kaniko.html
後記:2023/08/20
三年後從新再回來看看這個工具,已經支援了多種 Image Repository:
Pushing to Different Registries
- Pushing to Docker Hub
- Pushing to Google GCR
- Pushing to GCR using Workload Identity
- Pushing to Amazon ECR
- Pushing to Azure Container Registry
- Pushing to JFrog Container Registry or to JFrog Artifactory
Push to Amazon ECR with IAM user AK/SK
# 當前目錄
.
├── .dockerignore
├── Dockerfile
└── demo.txt

1 directory, 3 files
.dockerignore
.docker/*
config.json
Dockerfile
FROM --platform=amd64 nginx
COPY demo.txt .
demo.txt
null
Create Amazon ECR Repository at us-east-1
aws ecr create-repository --repository-name kaniko-demo --region us-east-1
# 如果要用 profile 記得加上 `-e AWS_PROFILE=example-profile-name`
aws sts get-caller-identity --output text --query 'Account'

export ACCOUNT_ID=`aws sts get-caller-identity --output text --query 'Account'`

# 如果要用 profile 記得加上 `-e AWS_PROFILE=example-profile-name` after docker run
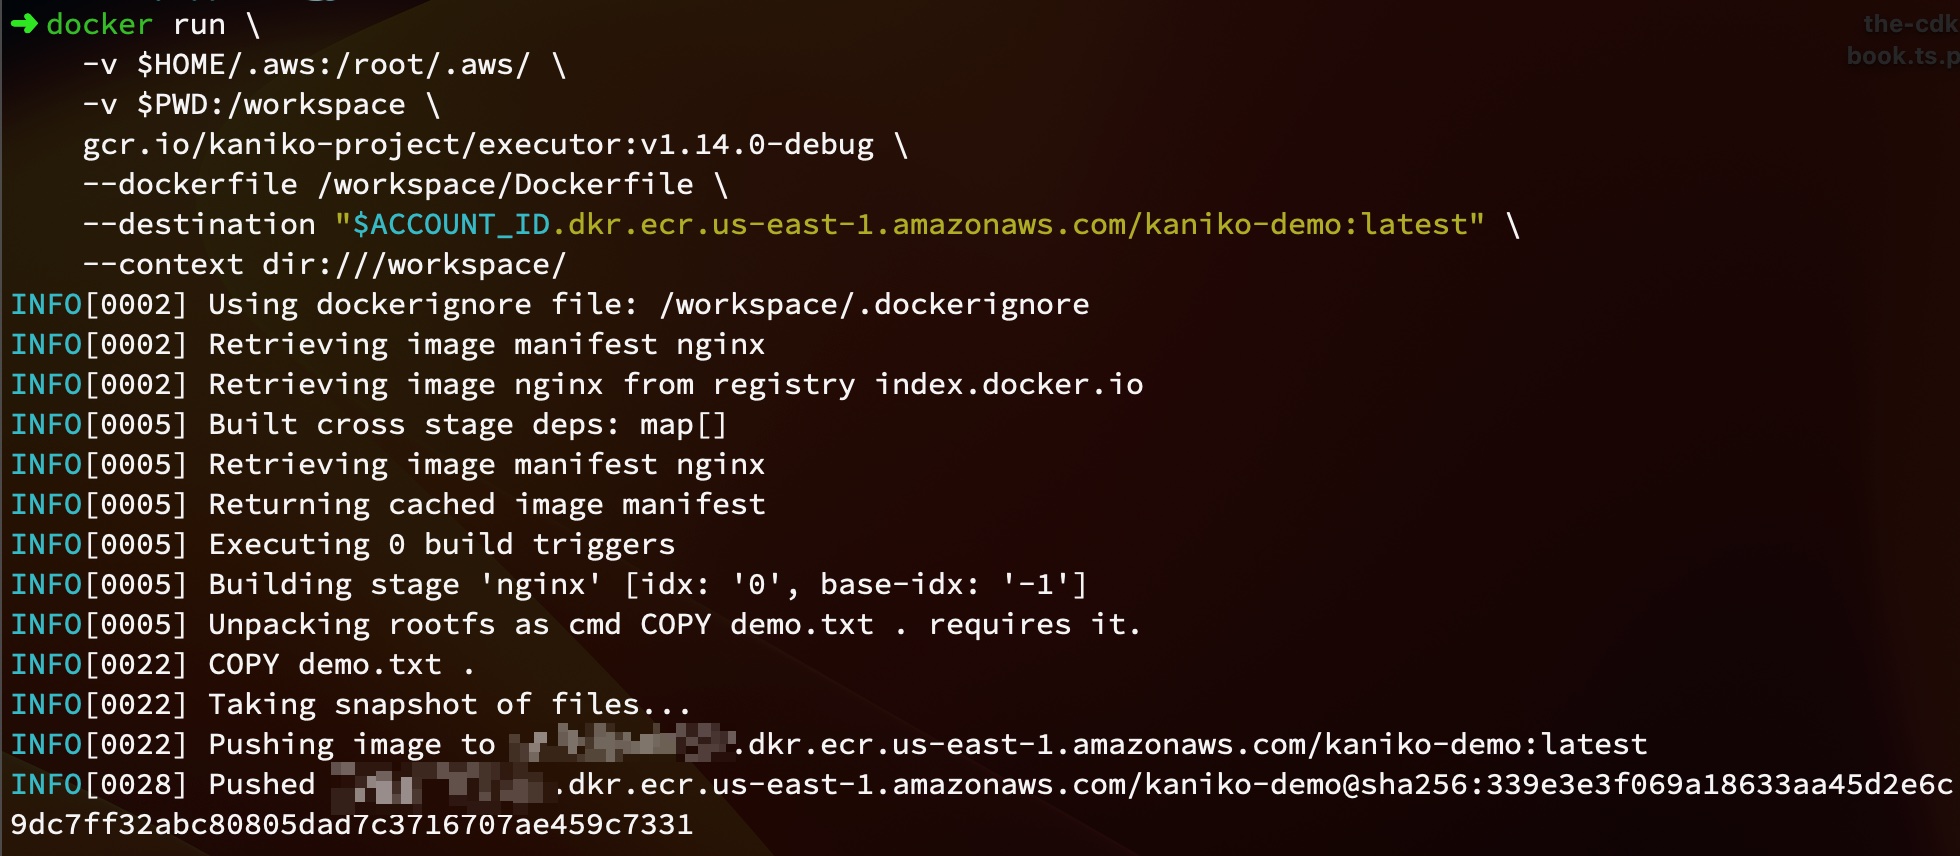
docker run \
    -v $HOME/.aws:/root/.aws/ \
    -v $PWD:/workspace \
    gcr.io/kaniko-project/executor:v1.14.0-debug \
    --dockerfile /workspace/Dockerfile \
    --destination "$ACCOUNT_ID.dkr.ecr.us-east-1.amazonaws.com/kaniko-demo:latest" \
    --context dir:///workspace/


Create custom platform similarly to docker build --platform xxx
# 如果要用 profile 記得加上 `-e AWS_PROFILE=example-profile-name`
aws sts get-caller-identity --output text --query 'Account'

export ACCOUNT_ID=`aws sts get-caller-identity --output text --query 'Account'`

# 如果要用 profile 記得加上 `-e AWS_PROFILE=example-profile-name` after docker run
docker run \
    -v $HOME/.aws:/root/.aws/ \
    -v $PWD:/workspace \
    gcr.io/kaniko-project/executor:v1.14.0-debug \
    --dockerfile /workspace/Dockerfile \
    --destination "$ACCOUNT_ID.dkr.ecr.us-east-1.amazonaws.com/kaniko-demo:latest" \
    --custom-platform=linux/amd64 \
    --context dir:///workspace/
2023年8月20日 Neil Kuan Updated
